
Have you ever wondered how to give your circuit toy car a little more flair or maybe fix it when it stops working? Cutting a circuit toy car might seem like a daunting task, but it’s easier than you think—and it can be incredibly satisfying.
Imagine the thrill of transforming your toy car into something unique or getting it back on track with just a few simple steps. Whether you’re a hobbyist looking to tweak a toy or a parent trying to help your child fix their favorite car, this guide will walk you through the process.
You’ll discover the secrets to safely and effectively cutting a circuit toy car, turning a seemingly complex task into a fun and rewarding experience. Let’s dive in and unlock the potential of your toy car together!

Credit: www.makerspaces.com
Choosing The Right Tools
Choosing the right tools is the first and most important step when cutting a circuit toy car. The correct tools make the job easier, safer, and more precise. Without them, you risk damaging the car or even injuring yourself.
Essential Cutting Tools
Start with a sharp hobby knife or a precision cutter for small, detailed cuts. These tools give you control and accuracy, especially around delicate parts like circuits and wiring.
For thicker plastic or metal parts, use a pair of wire cutters or small diagonal pliers. They handle tougher materials without crushing or bending the components.
A fine-toothed saw or rotary tool can also be useful if you need to cut larger sections cleanly. But remember, these require steady hands and a firm grip to avoid mistakes.
- Hobby knife or precision cutter
- Wire cutters or diagonal pliers
- Fine-toothed saw or rotary tool
Safety Gear To Use
Protecting yourself is just as important as protecting your toy car. Always wear safety glasses to shield your eyes from flying bits of plastic or metal.
Use gloves with a good grip to avoid slips that could lead to cuts. Thin but durable gloves work best as they keep your fingers safe without losing dexterity.
Consider a dust mask if you’re using power tools that create fine dust or fumes. This simple step protects your lungs and keeps you comfortable during the work.
- Safety glasses
- Protective gloves
- Dust mask (for power tools)
Have you ever started a project without the right tools and ended up frustrated or hurt? Investing time in choosing the right tools and safety gear saves you from those headaches and lets you enjoy the process more.
Preparing The Circuit Toy Car
Before you start cutting your circuit toy car, proper preparation is key. Taking time to get your toy ready can save you from mistakes that are hard to fix later. It also helps you understand the structure of the car better, making your cuts precise and safe.
Cleaning And Inspection
Begin by cleaning the toy car thoroughly. Dust and dirt can hide small parts or damage that might affect your work. Use a soft cloth or a small brush to remove grime from all surfaces.
After cleaning, inspect the car closely. Look for any loose wires, broken pieces, or areas that seem fragile. Understanding these weak points helps you avoid cutting where damage could worsen or the car might stop working.
Marking Cut Lines
Once the car is clean and inspected, plan where you will make your cuts. Use a fine-tip marker or pencil to draw clear lines on the body. Make sure these lines are visible but easy to erase if needed.
Think about the purpose of each cut. Are you removing a section, shortening the car, or creating an opening? Marking your cut lines carefully ensures your work stays neat and the toy remains functional.
Cutting Techniques
Cutting a Circuit Toy Car requires precision and the right technique to avoid damage and ensure a clean finish. Your choice of cutting method depends on the shape and complexity of the section you want to remove. Let’s break down the main cutting techniques that will help you get the job done smoothly.
Straight Cuts
Straight cuts are ideal when you need clean, precise edges, especially on flat surfaces or simple shapes. Use a sharp hobby knife or a fine-toothed saw to maintain control and reduce the risk of cracking the plastic.
Before cutting, mark your line clearly with a pencil or masking tape for guidance. Applying light, repeated passes instead of a single forceful cut often results in a smoother edge. Have you noticed how a shaky hand can ruin a straight cut? Stabilize your arm against a solid surface for better accuracy.
Curved Cuts
Curved cuts require more attention to detail and patience. Small, controlled snips with precision scissors or a rotary tool equipped with a fine cutting wheel work best here.
Take your time and follow the curve slowly to avoid jagged edges. You might find it useful to make several shallow passes rather than trying to cut through in one go. Have you tried turning the car or the tool instead of your wrist? This can improve control on tricky curves.
Handling Wiring And Components
Handling the wiring and components of a circuit toy car requires a careful touch and a clear plan. These parts are delicate and easy to damage if you rush or overlook details. Taking the time to manage them properly can save you from frustrating setbacks and keep your project on track.
Disconnecting Power
Always start by disconnecting the power source before you touch any wiring. This step is crucial to avoid short circuits or shocks. I once skipped this step and ended up frying a small motor—trust me, it’s not worth it.
Look for the battery pack or unplug any connected power supplies. If the batteries are soldered in place, use a soldering iron to carefully detach them. Never try to cut wires while the circuit is live, as this can damage components or harm you.
Protecting Sensitive Parts
Some parts like microchips, sensors, and motors are highly sensitive to static electricity and physical damage. You can protect these by grounding yourself with an anti-static wristband or touching a metal object before handling the components.
Keep components on a non-conductive surface like a wooden table or an anti-static mat. When you remove wires, label them or take photos so you remember where everything goes. This small habit saves hours of confusion later on.
Finishing Touches
Finishing touches bring your circuit toy car cutting project to life. These final steps improve safety and ensure the car works well. Pay close attention to details for a smooth and enjoyable experience.
Sanding Edges
Sanding smooths rough or sharp edges from cutting. Use fine-grit sandpaper to gently rub the edges. This prevents cuts and makes the car look neat. Take your time and check each edge carefully. Smooth edges also help the car parts fit better together.
Testing Functionality
Testing checks if the car moves and functions properly. Place the car on a flat surface and turn it on. Watch for smooth wheel motion and any unusual sounds. Ensure the battery and circuits connect firmly. Test multiple times to confirm consistent performance. Fix any issues before final assembly.
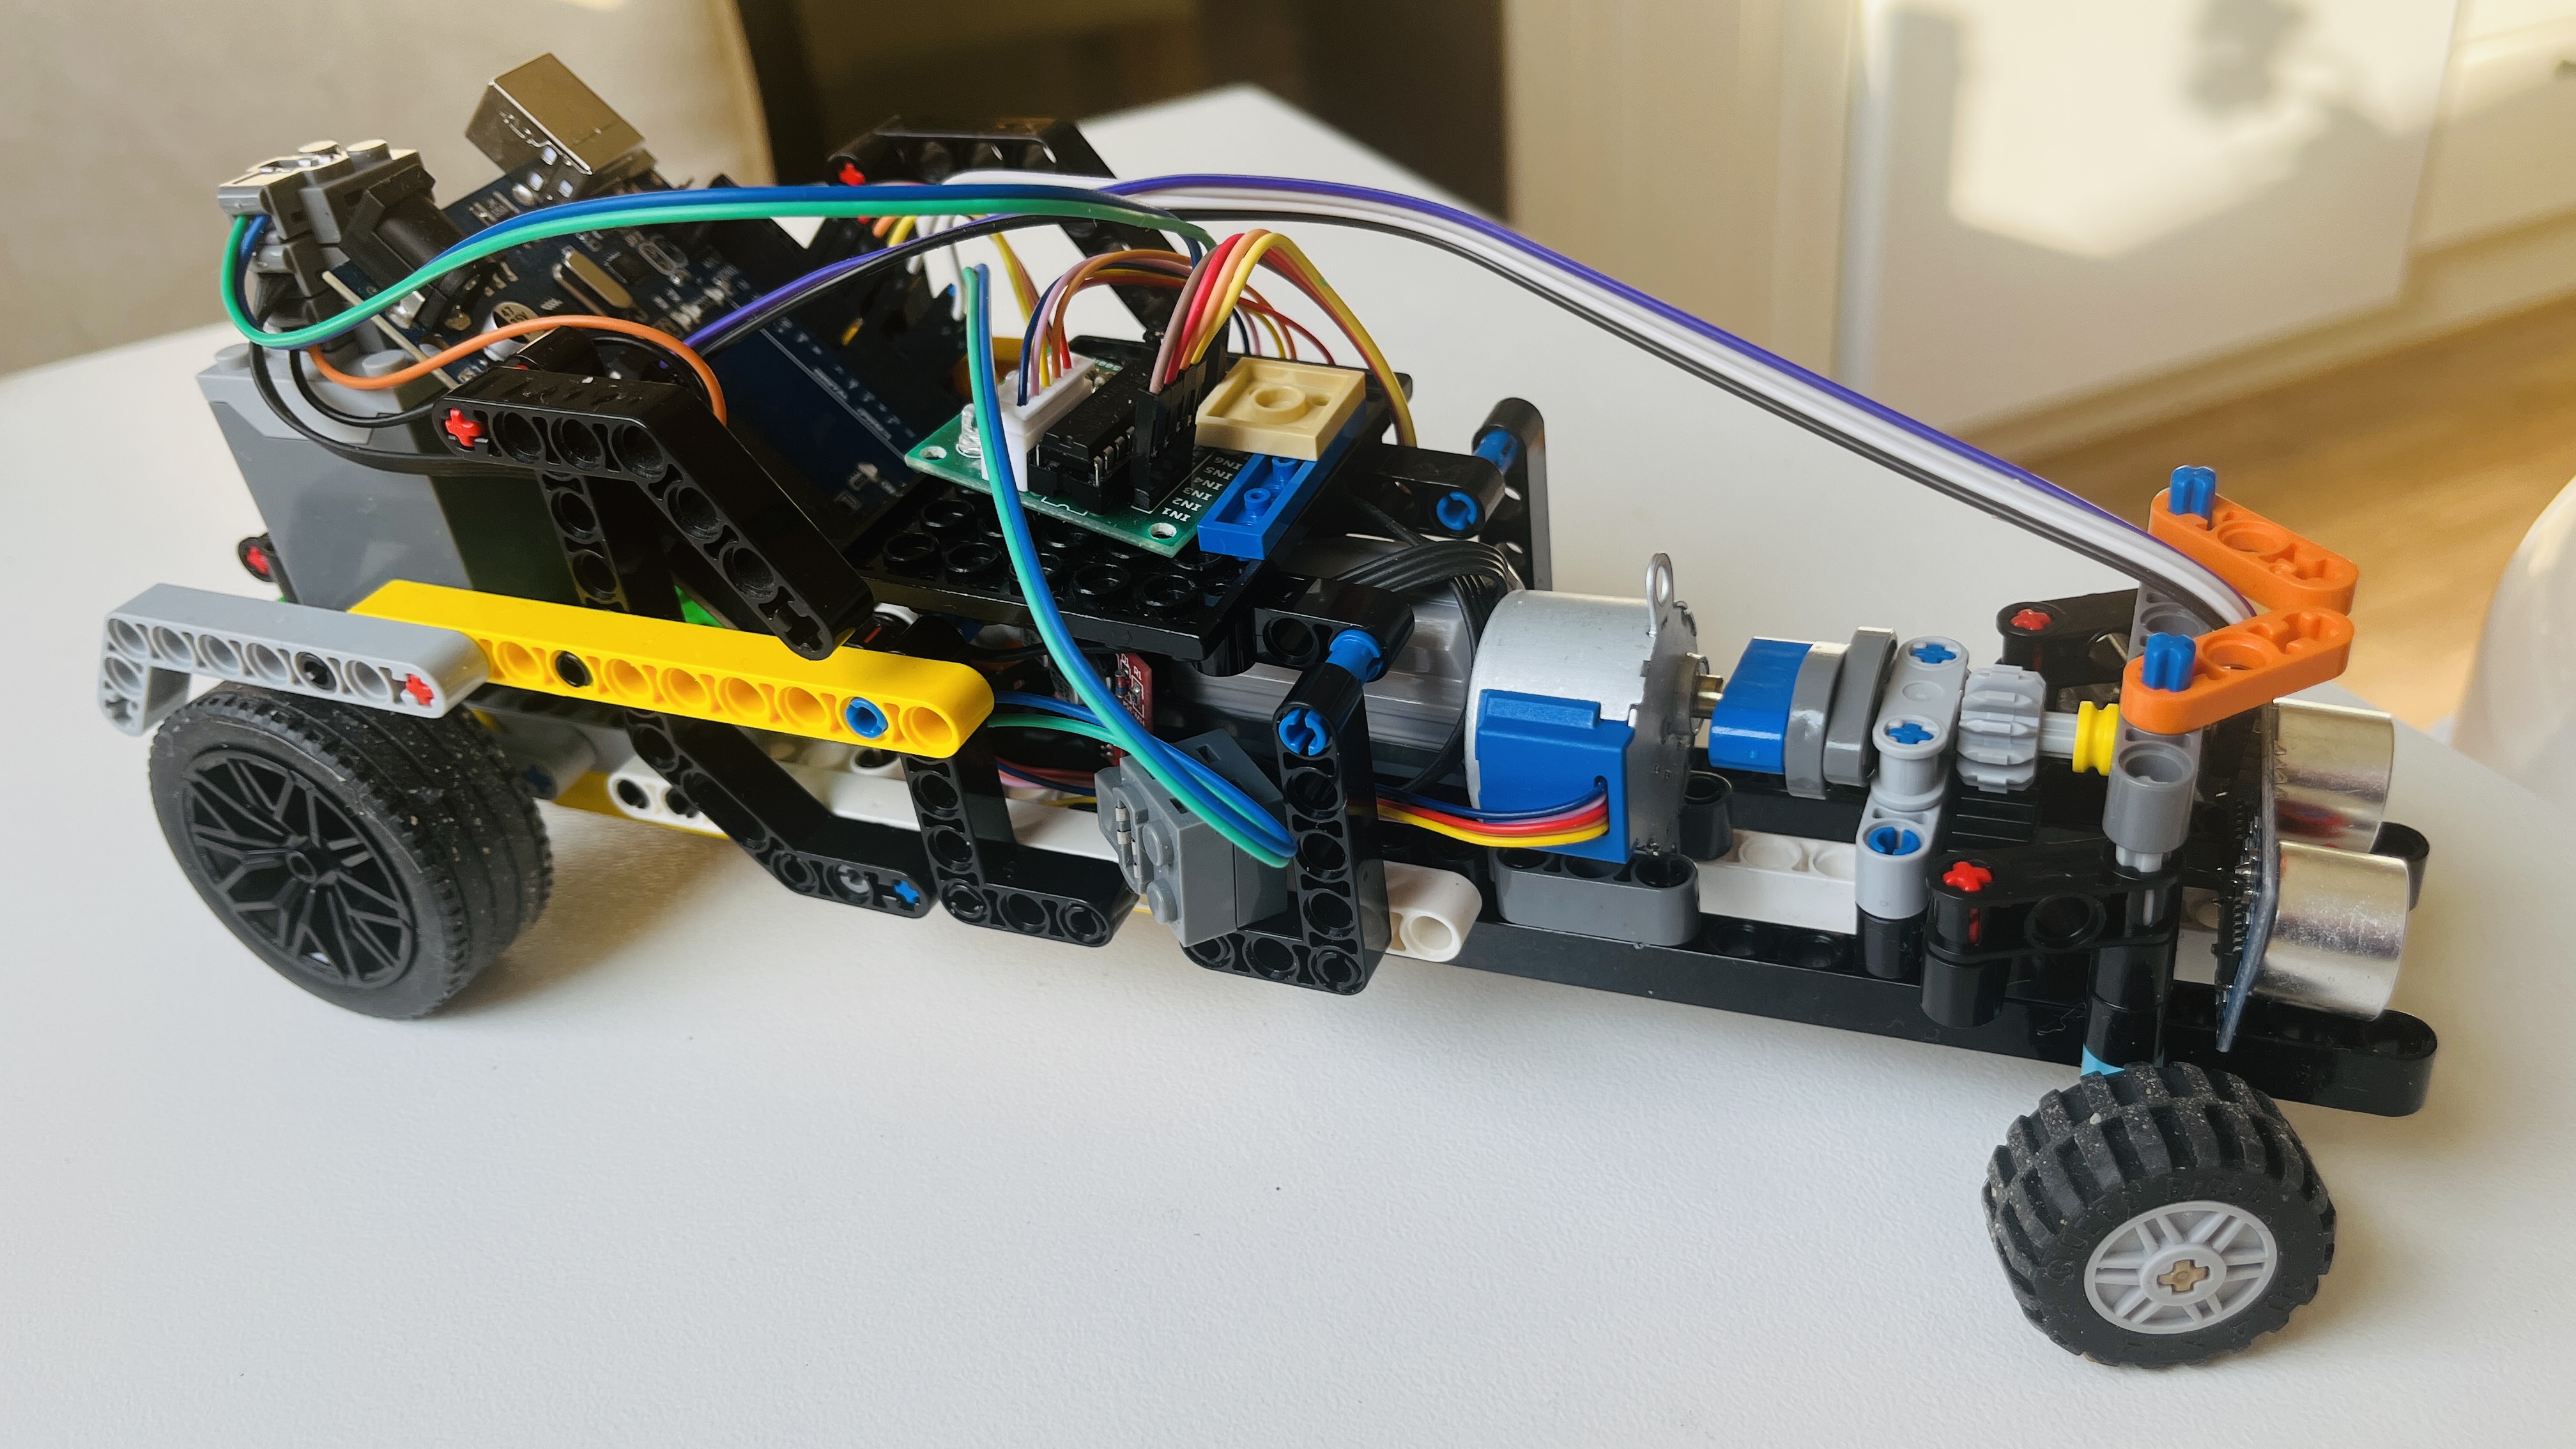
Credit: projecthub.arduino.cc
Troubleshooting Common Issues
Troubleshooting common issues while cutting your circuit toy car can save you time and frustration. Problems like rough cuts or electrical glitches often pop up, but they don’t have to ruin your project. With the right approach, you can identify and fix these issues quickly, keeping your toy car in perfect shape.
Dealing With Rough Cuts
Rough cuts happen when your blade isn’t sharp enough or when you apply too much pressure. This can cause jagged edges that might affect how parts fit together. Try using a fresh blade and cutting slowly to get smoother edges.
If your cuts still look rough, lightly sanding the edges with fine-grit sandpaper can help. This small step can make a big difference in how the pieces come together. Ask yourself: have you checked your cutting tool’s condition before starting?
Fixing Electrical Problems
Electrical issues often show up as a toy car that won’t move or has inconsistent power. Start by checking all connections for loose wires or poor solder joints. Sometimes, just tightening or re-soldering a connection solves the problem.
Inspect the battery contacts for corrosion or dirt that might block power flow. Cleaning these with a bit of rubbing alcohol and a cotton swab usually does the trick. Have you tested the battery voltage? Dead or weak batteries can mimic wiring faults.
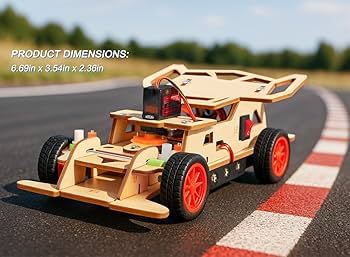
Credit: www.amazon.com
Frequently Asked Questions
How Do I Safely Cut A Circuit Toy Car?
Use insulated tools and disconnect the battery first. Cut slowly along marked lines to avoid damaging components. Wear safety glasses to protect your eyes from debris.
What Tools Are Needed To Cut A Circuit Toy Car?
You need wire cutters, a small saw, screwdrivers, and pliers. Insulated tools are preferred for safety. A multimeter can help check circuits before and after cutting.
Can Cutting A Circuit Toy Car Affect Its Functionality?
Yes, cutting can disrupt electrical connections and damage parts. Always plan cuts carefully and avoid cutting wires that power essential components. Test the car after modifications.
Why Would Someone Want To Cut A Circuit Toy Car?
Cutting allows customization, repair, or modification of the car. It helps in upgrading parts or creating new designs. Proper cutting enhances learning about electronics and mechanics.
Conclusion
Cutting a circuit toy car takes patience and care. Always use the right tools to stay safe. Follow steps slowly to avoid mistakes or damage. Test the car after every change you make. Practice will help you get better over time.
Enjoy the process and have fun learning. Simple tips can make a big difference. Keep trying, and your circuit toy car will work well.